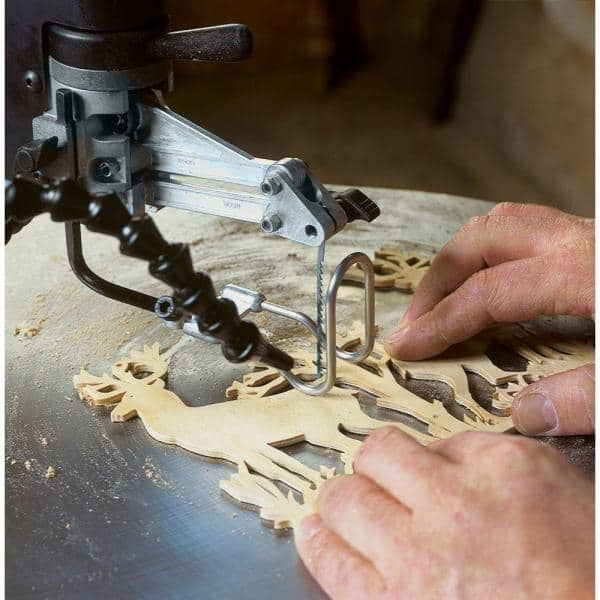
While the two types are very similar in many aspects, there are some key differences which make them better for certain applications. Scroll saws have a tendency to be used for complex designs, curves, delicate shapes, and other intricate tasks. The primary differences between them are their power and fineness. For greater maneuverability, they also have thinner blades. These are the main factors to consider when choosing between scroll and band saws.
Size of the throat
There are many important factors to consider when selecting a scroll-saw. One of the most important things to consider is the throat size. A scroll saw has different throat sizes than a traditional band saw. The throat measurement of a scrollsaw is the distance between its blade and the vertical support arm. The length of material that you can cut will depend on the throat size. A scrollsaw can be purchased with a neck size of anywhere from twelve to thirty-eight inches. You can choose between a throat length of 28 or 30 inches, depending on how large your material is.
Besides their throat sizes, another consideration is the thickness of the material that they can cut. A bandsaw can cut materials upto one inch thick. A scroll saw can handle materials upto two inches thick. The difference between a band saw and a scroll saw is in the amount of material they can cut. For example, a 14-inch scroll saw will have the throat size of a bandsaw, and a 20inch scroll saw will have the throat clearance of twenty-eight inches.
Feed rates
The Feed rates for Band Saw and Scroll Saw are very different. The Feed Rates for a Scroll Saw can vary according to the board thickness and blade type. Band saws have higher feed rates than Scroll Saws. However, their Feed Rates are limited by the Blade Class. To compare the two types, it is necessary to make an assessment of their respective Feed Rates. For making curves, the Scroll Saw is more efficient than Band Saws.
The Scroll Saw's Feed rates are essential to the Cutting Process. A Scroll Saw blade should be the appropriate size to cut the wood. Next, adjust the Feed Ratios for Scroll Saw and Band Saw. Both saws require different Feed Rates. Comparing these two saws is important. Compare Feed Rates for Scroll Saw and Band Saw.
Accuracy
A scroll saw and bandsaw have many key differences. A Band Saw can cut through thicker wood while a Scroll Saw can cut material up to 2 inches thick. In addition, scroll saws are often used to make furniture with intricate patterns. A Scroll Saw is the better choice if accuracy is important in your woodworking projects.
Both bandsaws and scroll saws have their advantages and disadvantages. While band saws are more popular for ripping, scroll saws are best suited for making precise cuts and intricate details. While both types of saws can be used to accomplish the same task, one type is better than the other. The main differences between band and scroll saws are not significant. However, their accuracy is very different.
The use of a scroll saw and a bandsaw
A scroll saw is good for fine woodworking. While a bandsaw can handle heavy-duty jobs, it's better to use a scroll saw. There are several differences between them, including their sizes. Although scroll saws can be more expensive, a bandsaw is much more powerful and has a greater volume of sound. Each saw requires special maintenance and care due to differences in sound and size.
There is one major difference between the types of saws: the material thickness. A scroll saw can handle materials upto one inch thick while a band saw can handle materials upto two inches. Both saws have different throat clearances. A band saw can cut up to two inches thick. A scroll saw is not able to cut very long pieces. Scroll saws can only cut pieces up to 30 in. wide by 20 in. long.
Cordless vs corded

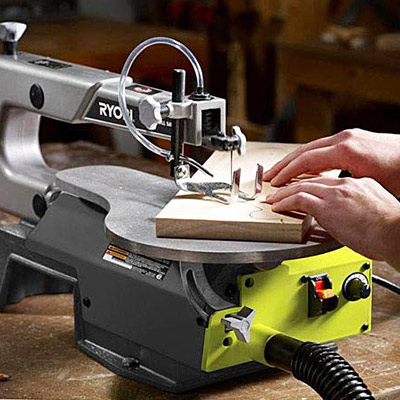
A cordless scroll-saw is a better option than a traditional corded saw if you're in search of a new tool for your workshop. Fortunately, this decision is easier than ever. Review these power tools to find the best cordless scrollsaw. Then you can compare the features and cost to help you decide which one suits your needs best.
When it comes to cost, the difference between a bandsaw and a scrollsaw isn't so significant. A basic band saw costs less than 100 dollars. However, a professional model can cost hundreds of dollars. Consider how often you intend to use the scroll saw before you make a decision on which model. If you'll only use it every once in a while, a cheap scroll saw is fine. If you intend to use it every day, however, you will need to spend more.
FAQ
Do you have any tips on starting a woodworking business?
Starting a woodworking business is a lot of work. It's worth it if you're passionate and willing to work hard. You'll enjoy the challenge and rewards of owning your own business.
Remember that you may encounter unexpected problems when starting a new venture. You might run out money, or you may have to borrow unexpectedly. You might find customers not willing to pay the amount you expected. To survive, you'll need to be prepared for such situations.
One tip is to have a separate banking account for your company. This will ensure that you always know how much money has come in.
Can I succeed in woodworking if I'm a genius?
No. It is not rocket science to woodwork. It is possible to learn basic tools and techniques that will allow you to create beautiful art.
How much should a hobbyist invest to get started?
You will need capital to purchase the tools and supplies you need to start your woodworking business. It's a good idea to buy a small tablesaw, drill press and circular saw. These items aren’t too expensive so you won’t have to break the bank.
Where do I start with woodworking?
Learning how to build furniture is the best method. Although you will need to have tools and may make mistakes along your journey, you'll soon be able to master it.
Choose a project that interests you. You can make a simple box or a large entertainment center. Once you have settled on a specific project, it is time to find a woodworker in your area who is experienced in such work. Ask the local woodworker for help in deciding what tools and where to get them. You might even ask whether there's someone else you can talk to who does this kind of work.
What tools work best for me?
It's important that you consider your needs and preferences while shopping for tools. Do you prefer metal handles or plastic? What size of nails and screws do your hands use most? Do you prefer hand tools over power tools?
Where can I get free woodworking plans?
Free woodworking plans are available online. You don't even need to buy books or magazines. You just need to search Google. Search Google for "free woodworking" to see hundreds of sites that provide free plans.
Statistics
- Overall employment of woodworkers is projected to grow 8 percent from 2020 to 2030, about as fast as the average for all occupations. (bls.gov)
- The best-paid 10 percent make $76,000, while the lowest-paid 10 percent make $34,000. (zippia.com)
- If your lumber isn't as dry as you would like when you purchase it (over 22% in Glen Huey's opinion…probably over 10-15% in my opinion), then it's a good idea to let it acclimate to your workshop for a couple of weeks. (woodandshop.com)
- The U.S. Bureau of Labor Statistics (BLS) estimates that the number of jobs for woodworkers will decline by 4% between 2019 and 2029. (indeed.com)
External Links
How To
How to make wood joints
This tutorial will show you how to join two pieces of wood together. We will use the pocket hole joint, which is drilling holes in the wood to join them. This method works great if your wood is straight and smooth. If your wood isn't straight or flat, you might want to try another method, such as dowel joinery. Here are the steps
-
Drill Pocket Hole Joints. To start, measure and mark where you want to put the pocket hole joint. Then drill 3/4 inch deep holes into the ends of each piece of wood using a jig saw or handheld drilling machine.
-
Sand Smooth. Sanding the wood's edges will ensure that the joint doesn't split.
-
Glue Together. Apply glue to the sides of both wood. Allow the wood to rest for five minutes before clamping it together.
-
Attach the Pieces together. After the glue has dried completely, you can clamp the pieces together until they are flush.
-
Trim Joinery. Trim any excess wood surrounding the joint once the glue has dried completely.
Be sure to leave enough space between each piece so that they can be turned inside-out.