
You've likely wondered how you can work with wood as a millennial who wants to connect with nature. There are many ways to learn. You can choose to attend a seminar or take a class. Or, you could simply buy a book. It doesn't really matter which way you go, it's worthwhile. Millennials love to create things, so why not give them a hand? Read on to find out how.
Millennials are learning to work with wood
The wood products industry is under increasing pressure to recruit millennial consumers and potential employees. The millennial generation includes individuals born between 1980 to 2000. This study used a questionnaire to find out about the perceptions and opinions of millennials about the industry. It also sought to understand their views on wood products. Researchers distributed the survey to 1,500 young people and received 1,479 useful responses. Respondents had a neutral view about the wood products sector, but some topics provoked stronger reaction.
You can learn on your own
Follow these steps to learn how to work with wood. To start, you should read some books on the subject, so that you know exactly what you need to do. It is impossible to buy gadgets and tools without doing some research. You might also want to purchase a few books that provide detailed instructions. The library has many books that you can borrow if you cannot afford them.
There are classes and seminars
Classes and seminars are available for those who want to learn how to create furniture or other wood-based objects. It is possible to learn the basics about working with wood in a variety ways, from simple projects all the way up to more advanced projects. The following information will provide a basic understanding of woodworking and how to start building furniture. For absolute beginners, there are classes. A certificate program in woodworking is a better option if you are looking for an intensive course. These classes will provide basic skills that will allow you to create more intricate pieces.
You can purchase books
Books on woodworking are a great way to start. These books are affordable and provide valuable information. There are many books on the topic. Many of these books are written for beginners, while others are designed for more experienced woodworkers. A book that teaches you the basics is also available. You can choose between a larger, more expensive book and one that is simpler to read depending on your skill level and budget.
A class is available.
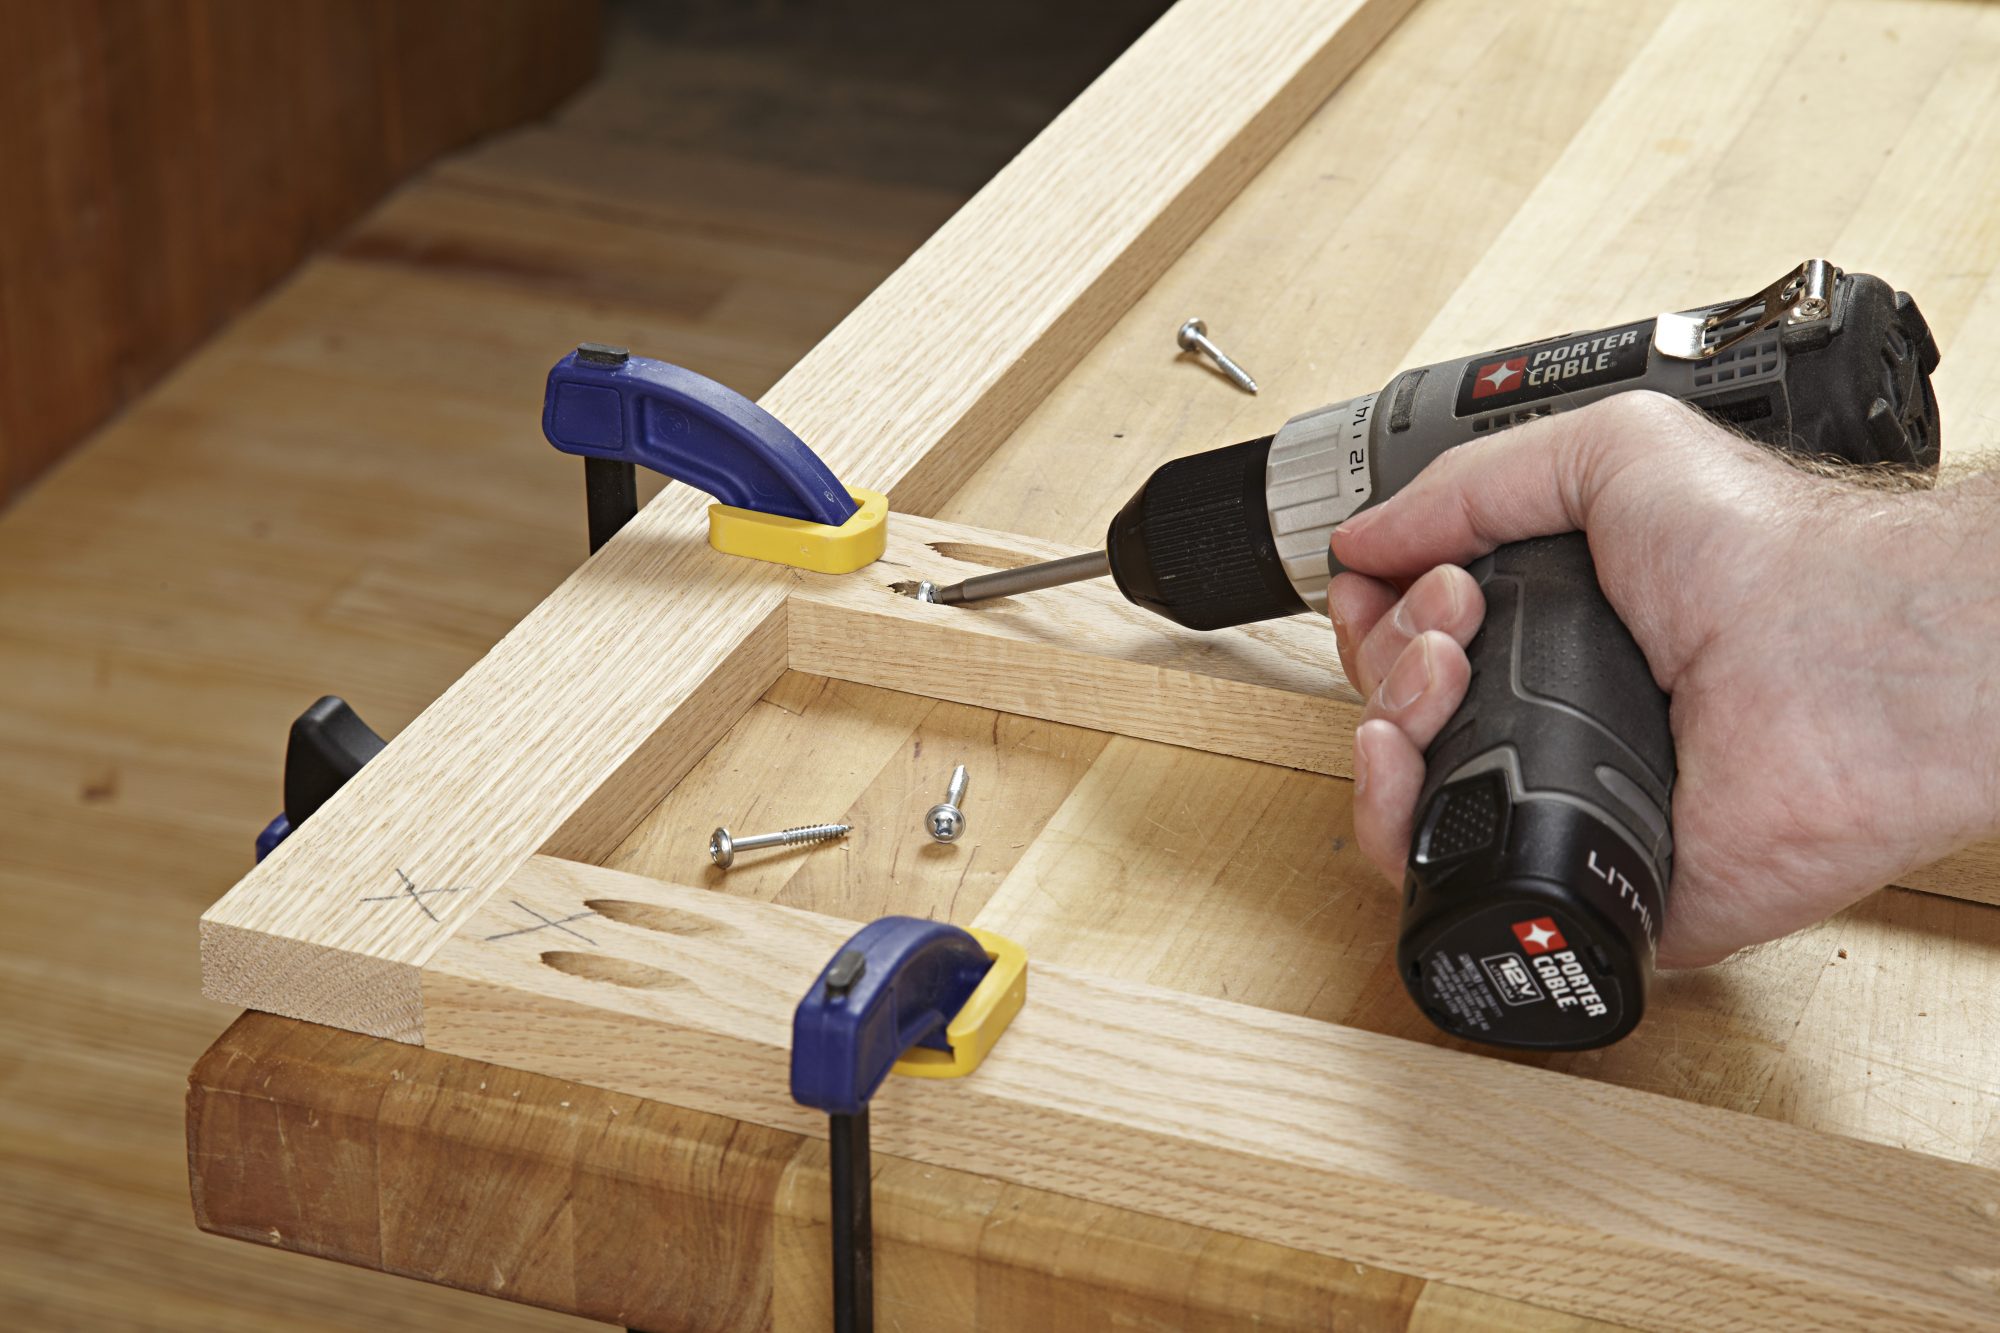
It is important to have the right tools before you can learn to work in wood. Among the most important of these tools is a hand planer. This tool is also known by the names mortise/tenon joint. Another tool to master is the hand saw. This tool is essential for making any type of woodworking project. Once you have learned how to use these tools, you can go ahead and practice your skills.
FAQ
How do I choose the right tools for me?
It's important to consider your preferences and needs when buying tools. What do you prefer: metal or plastic handles? What size screws or nails do you prefer? Do you prefer to use hand tools or power tools?
How can I keep my shop organised?
A designated place to store your tools is the first step towards keeping your workshop clean. Make sure your tools are clean and free of debris and dust so they can be used properly. Hang tools and accessories using pegboard hooks.
How much should a woodworker charge per hour?
Hourly rates for professional woodworkers vary depending on many factors such as skill, experience, availability, geographical location, and other variables.
The average hourly rate for a skilled woodworker ranges from $20-$50 an hour.
A less experienced woodworker may charge as little as $10 an hour.
Statistics
- The best-paid 10 percent make $76,000, while the lowest-paid 10 percent make $34,000. (zippia.com)
- Woodworkers on the lower end of that spectrum, the bottom 10% to be exact, make roughly $24,000 a year, while the top 10% makes $108,000. (zippia.com)
- If your lumber isn't as dry as you would like when you purchase it (over 22% in Glen Huey's opinion…probably over 10-15% in my opinion), then it's a good idea to let it acclimate to your workshop for a couple of weeks. (woodandshop.com)
- Most woodworkers agree that lumber moisture needs to be under 10% for building furniture. (woodandshop.com)
External Links
How To
Tips for driving a nail in wood
When driving a nail into wood, it is important to first choose the correct size and kind of hammer. The most popular types of hammers include claw hammers as well as mallets and ball peenhammers. Each type of tool has its advantages and drawbacks. For example, a claw hammer works best when you want to hit something hard, like nails; however, it's difficult to control precisely where the blow lands. A sledgehammer is useful for striking large areas at once but too heavy to be effective for smaller tasks.
After selecting the right hammer, you will need to place your hand flat against one side of the head. The handle should rest comfortably in your hands. Grab the handle tightly, but do not squeeze too hard. Your wrist should be relaxed while you hold the hammer straight upwards. Then swing the hammer back toward the ground, aiming for the center of the nail. The impact of the hammer hitting the nail should be felt. You can practice swinging the hammer with a block or wood until you feel the rhythm.
The hammer should be held close to your body when you are ready to begin driving the nail. You will need to position the nail so it is parallel to the wood. Keep your focus on the tip of each nail. Then, swing the hammer forward. Next, follow the motion of your hammerhead. You can repeat this several times, increasing your swing speed. When you are confident with the technique, add power to your swings. You can hold the hammer over your shoulder and forcefully bring it down. This way, you'll be able to put more energy behind your blows.
Once you have made the first hole, remove your hammer. Use a pry bar or screwdriver to pull out the rest of the nails. Keep the nails heads in line with the surface of the board to prevent splitting the wood.