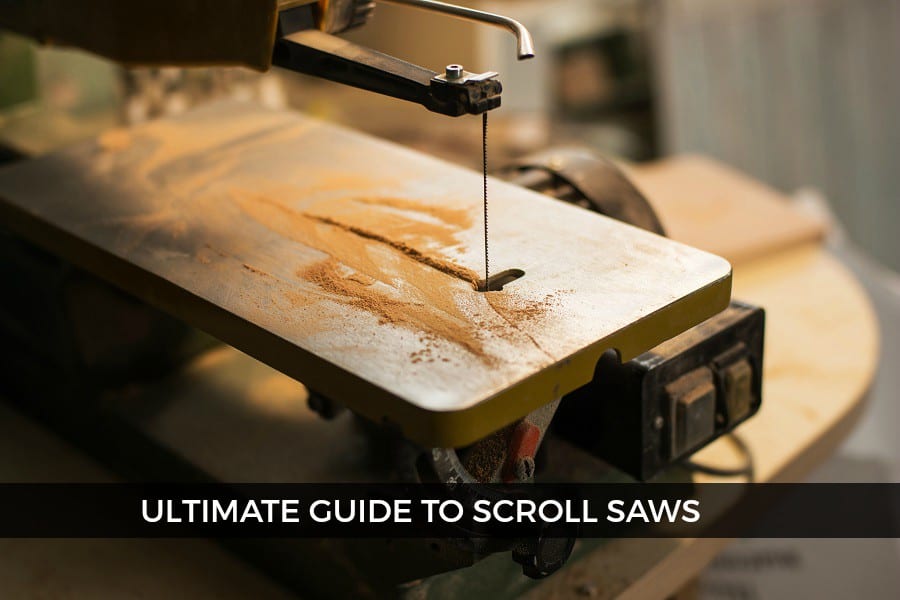
Making scroll saw train designs requires consideration of many factors, such as what wood to use, how many sheets to cut and how big the pattern should be. To make the project even easier, scroll saw train patterns are available in full-size books. The patterns can be printed one side of a page to make it easy to cut from the book. These books can be used by both novice and advanced scroll saw users.
Wood requirements
A wide range of woods is required to create scroll saw-train patterns. Woods such as cherry, walnut, and oak are some of the most sought-after options. Birch is also an excellent option, but it can absorb stain in unusual patterns. Exotic woods, such as walnut or mahogany, may be required for some other projects. Not recommended is the use of fir plywood and luan. Cherry and walnut are great choices as they are both inexpensive and offer high strength-to weight ratios.
It is best for beginners to avoid making intricate patterns until they have more experience. Starters should follow the lines that have been drawn onto the wood and then blend back into them slowly. It is important that you remember that scroll saw blades don't have the ability to cut straight lines. To avoid causing damage to the blade, use your hand to guide the saw onto the table. You should be able to see the wood that your scroll saw can cut.
Pattern size
Scroll Saw Train Patterns can be found on a number of websites. You can either create a full-size yard art project or a small scrollsaw shelf. It all depends on what you are making. You can find a variety of sizes for scroll saw patterns that will fit your project. The patterns can also be divided on to multiple A4 or Letter-size sheets. These designs are also printable so you can print and cut them straight from the book.
A simple project is the best way to get started with scroll saws for beginners. Scroll saw patterns that are most popular include a coaster, a hanging box, a VW Beetle plate, and a heart jewel tree. You can print some of these patterns free of cost. Start building once you have found the right pattern. The possibilities are endless! Scroll saw patterns can be made in many sizes and shapes.
Number of sheets of paper required
For large pieces of wood, scroll saw train patterns printed can be very useful. The patterns have no inside cuts. They are also full-size. These patterns save you time and money by not needing to enlarge. Print the pattern one side down and cut out the pieces. Next, use the copied copy to create practice pieces for larger projects. Remember that practice pieces do not have to be matched together.
Clear packaging tape is another option. It will keep wood fibers and other debris from sticking to the design. Some scroll sawers use painters masking tape, which is weaker than regular paper. Others combine clear packaging tape with painters tape. In any case, make sure to read the instructions carefully and understand how to use them. You will not ruin your patterns this way.
Evolution of the scroll saw
The origins of the scroll saw are obscure, despite the fact that the first patent for a reciprocating steel blade was issued in Great Britain in 1829. While it's not known when the scrollsaw was first introduced in Western Europe, its earliest forms date back to prehistoric times when woodworkers used knives and saws to make complex cuts. This method for cutting wood was called fretwork. Its origins can be traced back to the earliest civilisations.

Scroll saws can now make complex cuts because of their unique design features. A lot of scroll saws come with tilting tables. This allows users to angle the material and create beveled edges. Some can tilt up to 45° while others can tilt to the left. Others can tilt to both sides. You can turn the material over and trim the bevel on each side if this isn't sufficient. Newer models also include an integrated sawstand to allow users to work more comfortably standing.
FAQ
Are there any tips for starting a woodworking enterprise?
It takes a lot of effort to start a woodworking business. You won't mind working hard if your hobby is something you love. You'll likely enjoy the challenge of owning your business.
It is important to remember that unexpected problems may arise when you start a new venture. You might run out money, or you may have to borrow unexpectedly. Or you might find that your customers aren’t willing or able to pay as much you had hoped. To survive, you'll need to be prepared for such situations.
Set up a separate account in your bank for your business. You will always know how much money you have coming in.
What tools are used by carpenters?
Carpenters use a hammer as their most common tool. The hammer is used to pound nails into wood. They can also use it to hold the pieces together as they work on a project. Other tools include clamps.
How much money do you need to get going?
Since every project differs, it is impossible to give exact numbers. But if you want to get an idea of how much money you'll need, consider these factors:
-
Materials cost
-
Tools and equipment
-
Time spent on the Project
-
Hourly rate
-
What amount of profit can you expect to make?
-
No matter if you are looking to hire someone
If you're just starting out, you may decide to start small by making simple items such as boxes and picture frames. As you gain experience, you'll be able to tackle more complex projects.
How can a beginning woodworker make a living?
Many people are starting to learn how to build furniture because they want to start an online business. However, if you're just getting into furniture building, there are other options than selling on Etsy. Sell at craft fairs or other local events. A workshop could also be offered for people who are interested to learn how they can build their own furniture. If you have the experience to be a carpenter, builder, or a designer, you may consider offering your services in remodeling homes or creating custom pieces.
What time does it take for furniture to be finished?
It depends on what size piece of furniture you have. For smaller projects such as picture frames and boxes, it can take less than a day to complete. Larger projects such as tables and desks can take several days to complete. It takes time in order to properly stain or seal the wood.
Statistics
- Most woodworkers agree that lumber moisture needs to be under 10% for building furniture. (woodandshop.com)
- Woodworkers on the lower end of that spectrum, the bottom 10% to be exact, make roughly $24,000 a year, while the top 10% makes $108,000. (zippia.com)
- The U.S. Bureau of Labor Statistics (BLS) estimates that the number of jobs for woodworkers will decline by 4% between 2019 and 2029. (indeed.com)
- The best-paid 10 percent make $76,000, while the lowest-paid 10 percent make $34,000. (zippia.com)
External Links
How To
How to join wooden boards without using nails
Woodworking is a hobby that many people enjoy doing. It's fun and relaxing because you can use your hands to make something useful from wood. However, there are times when you want to join two pieces of wood together without having to use nails. This article will demonstrate how to do so to preserve the beauty of your woodwork.
Before you can join the wood pieces together, you need to remove any rough edges. You don't want any sharp corners to cause problems later. Once you have done that, you can begin gluing your boards together.
If you are working with hardwood, only one side should be glue. You should glue both sides if you are working with softwoods such as pine and cedar. After applying the glue, press the boards firmly until they are completely stuck together. Before moving onto the next step, make sure the glue has dried completely.
After you have glued the boards together, drill holes in the joints where you intend to place screws. The size of these holes depends on what type of screw you choose to use. If you plan to use a 1/2 inch wood screw, drill a hole at least 3/4 inches in depth.
Once you have drilled your holes you will need to drive the screws through each joint and into the backside. Avoid hitting the board's top surface. Otherwise, you could ruin the finish. When driving the screws, try to avoid hitting the ends of the screws too much. This will prevent the wood from splitting.
Now that your project is finished, you'll want to protect it from the elements. You can either seal the entire piece of furniture or cover the top. You will want to choose a product that will be durable for many years. Examples include oil-based varnishes and polyurethanes, shellac, lacquer and others.
These products are available at most home improvement stores. Make sure you get the right product for your job. Don't forget to keep in mind that some finishes are toxic. So, always wear protective gear when handling them.