If you've always wanted to carve your own eyes, there's no better way to get started than by following along with a photo trail. This can help you to imitate a famous carving without having to spend hours researching the styles. It's important that your eyes are as accurate as possible. You'll have lots of fun and will likely have great eye-hand coordination. But don't be discouraged if you aren't a skilled carver. There are many methods to create realistic-looking eyes.
Lesson 4: Carving hair
This tutorial will teach you how to create beautiful flowing hair for your animal carving. It will help create a realistic appearance that evokes lifelike emotions. It will also demonstrate the different tools you can use to make the different textures of hair. Learn how to use different curved instruments to create different levels. Once you've mastered the basics of hair cutting, you can move on to more difficult parts like the eyeballs or nose.
You should first outline your eye cavities using a pencil. Next, trace a straight line that extends from the eyebrows and eyelids. You can also draw small squiggles on the forehead to make it rounder. Then, trim your beard with a sharp sloyd or whittling knife.
Lesson 5: Carving the feet of the crow
Crow's feet can be a sign of crows feet. Learn what causes them. Repeated facial expressions (such as squinting) can lead to these wrinkles. Crow's feet are caused by repetitive facial expressions like squinting. For crow’s feet prevention, you can use facial moisturizers.
The appearance of wrinkles and fine lines on the face can make someone look older than their years. It is possible to remove wrinkles and fine lines from the face, giving you a younger appearance. Here are some helpful tips.
Lesson 6 Carving an Iris
Children can observe the iris or ocellus through a mirror and see how they feel. They can also draw their eyes by using observational drawing. They can find white or other colours in the iris, and black in the center. Once they are done drawing, they can use different media to add colour and create an illusion of depth. Children can compare their eye drawings and see how they differ in color.
FAQ
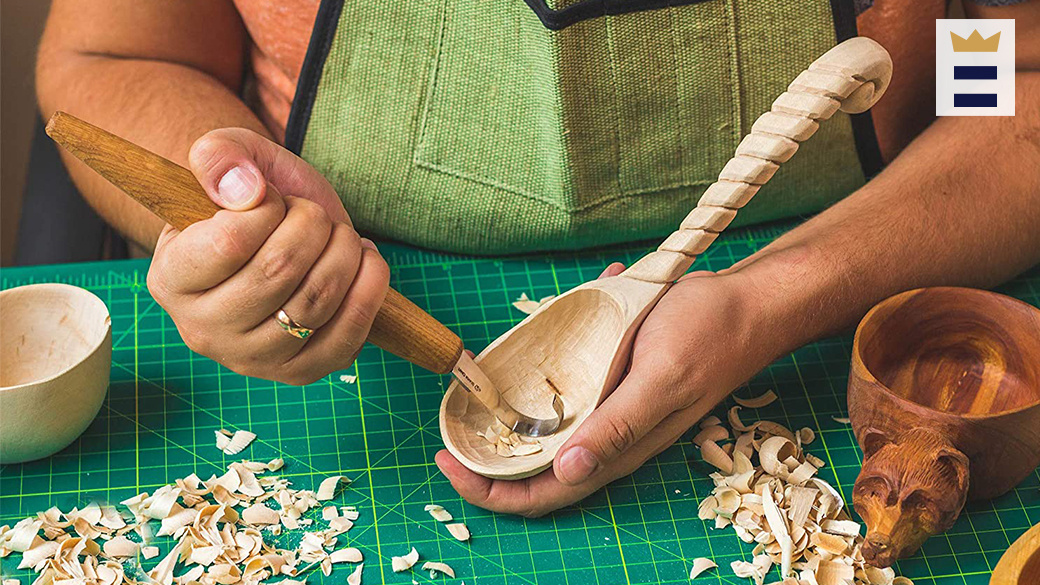
What tools do I need to start as a woodworker and what should I learn?
Woodworking is an art that takes patience and practice. It takes time and practice to master the various techniques and tools required for woodworking.
There are many kinds of woodworking equipment currently on the marketplace. Some people prefer to use power tools while others prefer manual tools.
The choice is yours, but you must ensure you choose the right tool for the job. Start with a basic set if you don’t have any previous experience.
You might also consider learning how to use the router to create intricate shapes from wood. These routers can be purchased at most hardware and home improvement stores.
What wood items do well?
The best-selling wooden items are those which have been made from wood that was harvested sustainably.
The most used wood types for furniture are oak, maple and walnut.
These woods have beautiful grain patterns and colors. They are also very strong. They can also last for years if they are properly cared for.
To protect wood furniture from moisture damage, it should be painted first. All surfaces should be painted, including doors, drawers, and handles.
Choose a paint with water resistance if you want furniture to last as long possible.
Use a high-quality, oil-based primer and two coats of topcoat. Depending on how often it will be worn, you may need to apply several coats.
Avoid spray cans or aerosol colors. These products have solvents that evaporate quickly, leaving behind dangerous fumes.
How much should a hobbyist invest to get started?
To start your own woodworking company, you will likely need capital to purchase the necessary tools and other supplies. Start by getting a small circular saw saw, drill press or circular saw. These items aren’t too expensive so you won’t have to break the bank.
What kind of tools do carpenters use?
Carpenters use a hammer as their most common tool. A hammer is used for pounding nails into wood. A hammer is used to hold pieces together during a project. Other tools include clamps.
Statistics
- The U.S. Bureau of Labor Statistics (BLS) estimates that the number of jobs for woodworkers will decline by 4% between 2019 and 2029. (indeed.com)
- Most woodworkers agree that lumber moisture needs to be under 10% for building furniture. (woodandshop.com)
- The best-paid 10 percent make $76,000, while the lowest-paid 10 percent make $34,000. (zippia.com)
- In 2014, there were just over 237,000 jobs for all woodworkers, with other wood product manufacturing employing 23 percent; wood kitchen cabinets and countertop manufacturing employing 21 percent. (theartcareerproject.com)
External Links
How To
How to make wood joints
This tutorial will demonstrate how to join two pieces together of wood. We'll use the "pocket hole joint," which means we drill holes in the wood and then glue them together. If your wood is straight and flat, this method will work well. If your wood isn't straight or flat, you might want to try another method, such as dowel joinery. These are the steps
-
Drill Pocket Hole Joints. To start, measure and mark where you want to put the pocket hole joint. Then drill 3/4 inch deep holes into the ends of each piece of wood using a jig saw or handheld drilling machine.
-
Sand Smooth. Sanding the wood's edges will ensure that the joint doesn't split.
-
Glue the two sides of the wood together. Apply glue to the sides of both wood. Allow it to cool for at least 5 minutes before you attach the pieces.
-
Clamp the Pieces Together. After the glue has dried completely, you can clamp the pieces together until they are flush.
-
Trim Joinery. After the glue dries completely, trim off any excess wood around the joint.
Be sure to leave enough space between each piece so that they can be turned inside-out.