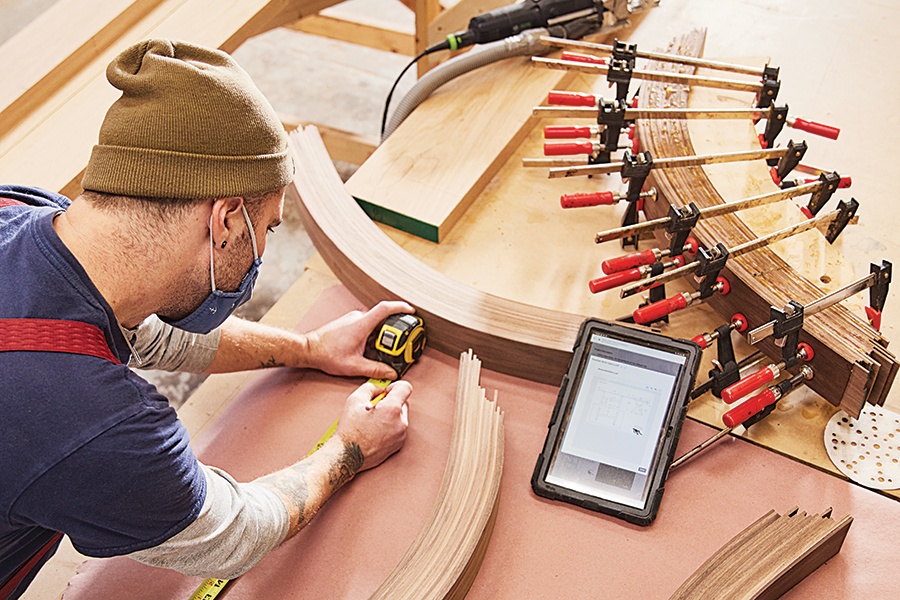
You must set up your router correctly when using it. Here are some helpful tips to properly set up your router. You can also read this article to learn how to adjust the distance between bits to avoid overheating. We will also be discussing how to make router spacing. We'll also discuss hot gluing, and how it can help remove workpieces while not damaging them.
How to set up a router tablet
Before you can use a router table, make sure that the fence is set at the correct distance from the table surface. A lift plate is used on most router tables to allow for easier bit height adjustments. Make sure the lift plate is flush with the table surface. A straight edge can be used to determine the proper alignment. Adjusting the lift's height may require you to either remove it or adjust the distance from the table.

How to adjust your cutting distance
You might have wondered how to adjust cutting distance when using your router. The router base adjustment is used to adjust the depth and direction of the cutting blade. Depending on what material you have to work with, you might only need one pass to create decorative edges. You may also need several passes to cut thicker material. The depth of the cut depends on the sharpness of the router bit, the power of the router, and your own personal comfort. Start by creating a small test piece to determine the right setting.
How to stop router bits overheating
Modern routers have variable speed motors. Larger bits will have a faster rim speed than smaller ones. A large panel raising bit can heat up quickly when it is run at high RPMs. A straight bit of 1/4" diameter should be run at higher RPMs to ensure smooth cuts. You should set the feed rate to the speed that is appropriate for the type and species of wood you are working with. This will prevent overheating.
How to make router spacers
Once, a reader asked how to make router spacesrs. Mike Pekovich advises that you use spacers on the router table to prevent climb-cuts. Climb cuts are caused by incorrectly feeding work left to right. Adding a spacer after a router pass will move the spinning bit deeper under the fence, preventing dangerous climb cuts. To make spacers you can use either 1/8" (or 3/16") plywood.
How to fix a router that is on a shelf edge in order to flush-trim solidwood edges
It is important to not remove the edge bandsing while edging cabinets and shelves. You can slide the trimmer in the same direction as the grain to make your cut, but any direction that cuts in any direction will damage the edge. You can smoothen the edge by using a flush trim router bit. For this purpose, a flush-trim router bits is a good choice. However, you will need to have a panel that can hold it on an edge.
How to make a router pattern
Before you create a router template, you will need to know how to offset the cutter bit. The offset refers to the distance between the cutting edge of your router bit and the guide bushing. The offset can be calculated by subtracting bit diameter from guide bushing and dividing the result by 2. The following chart displays the offsets for common combination of router-bit and guide bit diameters. Note that some offsets won't work because your router bit is too large.
FAQ
What kind of tools do carpenters use?
A hammer is the most commonly used tool by carpenters. The hammer is used to pound nails into wood. A hammer is used to hold pieces together during a project. Other tools include clamps, pliers, screwdrivers, measuring tape, pencils, saws, drills, and wrenches.
How often should I purchase new supplies?
Over time, you may need to replace your tools. If you're using hand tools, you'll need to sharpen them regularly. You'll also need to replace parts if you use power tools. You can spread your purchases over a number of months to avoid spending too much.
Where can I find my woodworking tools?
There are many places that you can find all the information you need. You could shop at your local hardware store or go online to Amazon.com.
You can also search flea and garage sales for furniture and other materials that can be reused.
How much money do you need to get going?
There are no exact numbers because every project is different. But if you want to get an idea of how much money you'll need, consider these factors:
-
Material cost
-
Tools and equipment
-
Time spent working on the project
-
Your hourly rate
-
What is your expectation for profit?
-
It doesn't matter if your goal is to hire help
If you're just starting out, you may decide to start small by making simple items such as boxes and picture frames. As you gain experience, you'll be able to tackle more complex projects.
Statistics
- Average lumber prices rose about 600 percent between April 2020 and May 2021. (familyhandyman.com)
- Woodworkers on the lower end of that spectrum, the bottom 10% to be exact, make roughly $24,000 a year, while the top 10% makes $108,000. (zippia.com)
- If your lumber isn't as dry as you would like when you purchase it (over 22% in Glen Huey's opinion…probably over 10-15% in my opinion), then it's a good idea to let it acclimate to your workshop for a couple of weeks. (woodandshop.com)
- The U.S. Bureau of Labor Statistics (BLS) estimates that the number of jobs for woodworkers will decline by 4% between 2019 and 2029. (indeed.com)
External Links
How To
How to join hardwood without using nails
Many people love woodworking. You can make useful items from wood with your hands, which is both relaxing and fun. You might want to join two pieces from the same wood, but you don't need to use nails. This article will explain how to do this so that your woodwork projects stay beautiful.
Before you can join the wood pieces together, you need to remove any rough edges. Avoid leaving sharp edges that could lead to problems later. Now you can start gluing the boards together.
You should only glue one side of hardwood. For softwoods like cedar and pine, glue should be applied to both sides. Apply the glue to the boards and press them down until they are securely attached. Be sure to let the glue dry before you move on to the next step.
After you've glued your boards, you'll want to drill holes into the joints where you plan to insert screws. The size of these holes depends on what type of screw you choose to use. For example, if you intend to use 1/2-inch wood screws, you need to drill a hole that is at most 3/4 inches deep.
Once you have drilled your holes you will need to drive the screws through each joint and into the backside. You should be careful not to touch the board's front surface. This could cause damage. Try to not hit the ends of the screws when driving the screws. This will avoid splitting in the wood's ends grain.
You'll need to protect your completed project from the elements. You can either cover the entire furniture or just the top. You will want to choose a product that will be durable for many years. You can choose from oil-based varnishes or polyurethane, shellac and lacquer as examples.
These products can generally be found in any home improvement shop. Just make sure that you buy the right kind for the job. Remember that some finishes can be toxic, so you should not use them indoors. Protective gear should always be worn when handling these finishes.