It is important to understand which woods are the best for your walking stick before you start carving it. Learn about the various methods of whittling as well as what David Allen uses for his walking sticks. You can also find famous quotes about walking sticks, and how to carve them. Here are some tips to help make the perfect walking sticks. Continue reading to find out more. You can now carve a walkingstick that will be functional and unique!
Woods that are suitable for carving a walkingstick
The hardest part of carving is finding the right blank. You may come across a few trees with branches that appear bent too far to be useful, but you should keep searching until you find a straight piece. You should harvest straight branches in the winter, when sap travels between the branches and roots. This makes the wood less likely to split and more stable. If you don't have the time to wait for spring, you can still harvest the wood while it is still green.
Several species of wood can be used for carving a walking stick. North American Chestnut is a solid wood. Its density makes it ideal for making walking sticks and other similar tools. This species' wood grain is either slightly open or partially closed. It makes for a strong walking stick that feels solid and smooth. It is also extremely attractive and is often used in carve. Some species can be carved without the bark.
Techniques for making a walking stick
There are a few basic techniques to carve a walking stick. First, you should choose a piece of wood with a unique texture. Some woods are unique in their bark colors and patterns, while others have natural swirls. You might want to paint or lacquer these characteristics. To make the shaft more appealing, you might also carve it. Lastly, you should be sure to choose a stick that's straight and free of tough spikes or branch shoots.
This book will explain the differences between different types of wood as well as different carving styles. Most common are snakes and Lions. Not only can you carve snakes but fish, eagles, and even deer. Many people consider the talents of these artists divine. This book is suitable for advanced and novice carvers.
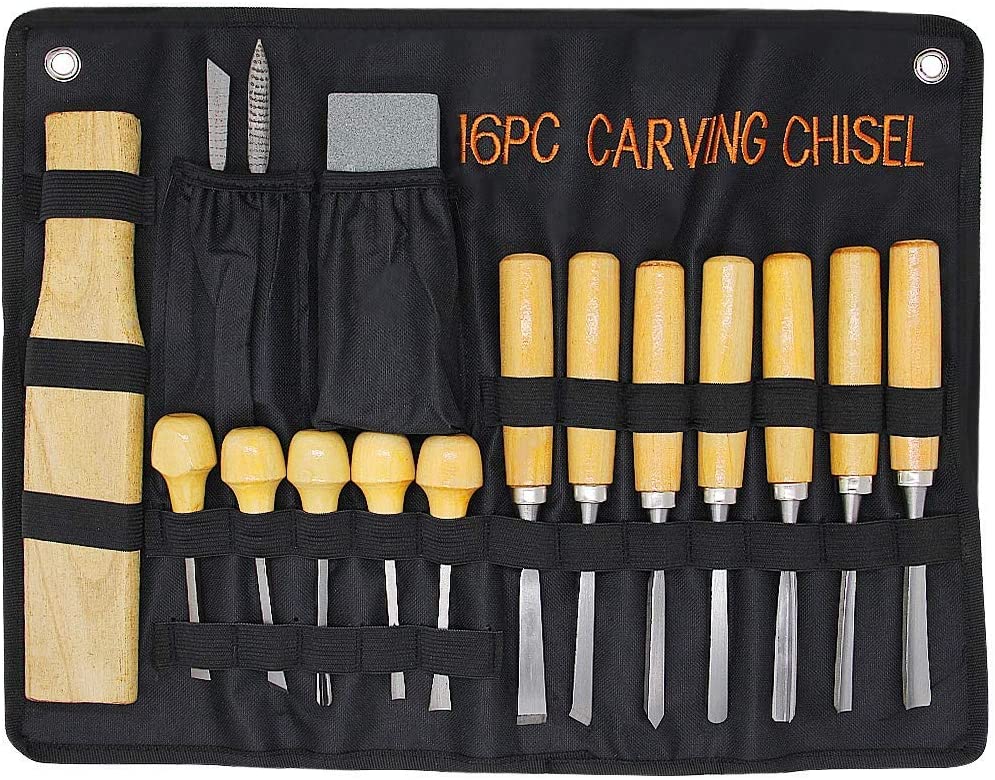
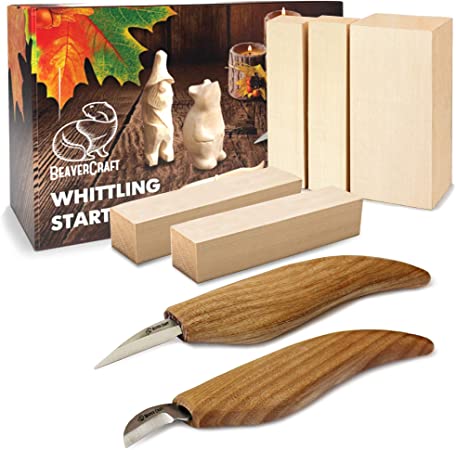
Tools used by David Allen for carving a walking stick
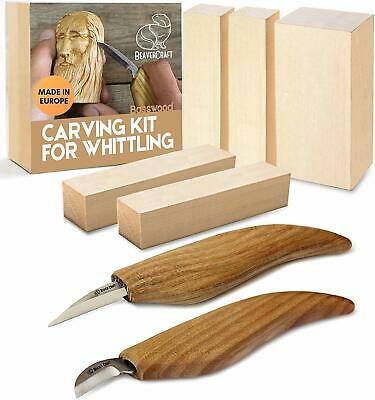
David Allen started making toys when he was young. He used a pocketknife from his childhood to create them. He was too young to be able to use a knife so he kept it safe from his family. His creations included toys, like slingshots, as well as utilitarian tools like shoeshine cases. Allen was 15, when he became paralysed and began to make walking sticks. Allen used a pocketknife to cut the wood.
Allen devised his designs on his own, looking at the roots of saplings to decide what to carve. He believed that the design should be "seeable" before it could ever be carved. This was the same process as many other African-American artists. Allen often had visions and dreams for the design he wanted. Through this, he was capable of creating a stick that would inspire the emotions and feelings within his community.
Famous quotes about carving walking sticks
Carving a walkingstick is a complicated process and requires a blank. Straightening the blank is the most difficult part of the entire project. Although there are many sources of your stick, it is important to persevere in finding one that is straight. Although it may look bent beyond practical utility, you can keep looking until you find one. Try to cut your stick when the sap is flowing from branches to root. The sap makes wood soften and less likely it to split.
When choosing wood, consider the texture and color of the wood. Every piece of wood is unique and has its own texture. The lacquer will make these natural swirls even more beautiful. You want a smooth finish so make sure to remove any branches shoots or spikes from the shaft. This will make the process much easier. No matter what material you choose to use, it is important that you consider the type and finish you will use.
FAQ
Which material would you recommend for woodworking lessons?
Start with softwoods such as pine and poplar. After you are comfortable with the softwoods, move to hardwood.
How do I learn basic woodworking skills?
The best way to learn how furniture construction is to make your own bench. You can do this project using any type of wood you have on hand at home. If you are unsure what type of wood is best, you can get cheap pine boards at Lowes (or Home Depot) instead. Once you have built your bench, you will need to sand it off and then finish it with a stain/varnish.
How do you know which tools are the best for you?
It's important to consider your preferences and needs when buying tools. What do you prefer: metal or plastic handles? What size screws or nails do you prefer? Do you prefer hand tools over power tools?
What is the average time it takes to finish furniture?
It all depends upon the size of your piece of furniture. Boxes and picture frames are small projects that can be completed in one day. Larger projects, like desks or dining tables require several days. It takes time to properly stain and seal wood.
How much should a skilled woodworker earn per hour?
The hourly rate for a professional woodworker varies depending on many factors, including skill level, experience, availability, location, and other variables.
A skilled woodworker can expect an hourly rate of $20-50.
A less experienced woodworker may charge as little as $10 an hour.
Is there anything else I should know about woodworking?
Furniture making is a laborious task. It's easy not to appreciate how hard it is. Finding the right type of wood is the most difficult aspect of this process. There are so many varieties of wood available that choosing one can be difficult.
Another problem is that not all wood has uniform properties. Wooden can split or crack, while some woods may warp. You must take these things into consideration before purchasing wood.
Statistics
- Average lumber prices rose about 600 percent between April 2020 and May 2021. (familyhandyman.com)
- Woodworkers on the lower end of that spectrum, the bottom 10% to be exact, make roughly $24,000 a year, while the top 10% makes $108,000. (zippia.com)
- The best-paid 10 percent make $76,000, while the lowest-paid 10 percent make $34,000. (zippia.com)
- If your lumber isn't as dry as you would like when you purchase it (over 22% in Glen Huey's opinion…probably over 10-15% in my opinion), then it's a good idea to let it acclimate to your workshop for a couple of weeks. (woodandshop.com)
External Links
How To
How to make wood joints
This tutorial will teach you how to join two pieces wood together. We'll use the "pocket hole joint," which means we drill holes in the wood and then glue them together. If your wood is straight and flat, this method will work well. You may want to consider other methods, such as dowel joining. These are the steps
-
Drill Pocket Hole Joints. Start by measuring and marking the spot where the pocket hole joint will be placed. You will then drill 3/4" deep holes through each piece of wood with a jigsaw, handheld drilling machine, or hand-held drill.
-
Sand Smooth. You can sand the edges of the wood to ensure that it doesn't split.
-
Glue together. Apply glue to both ends of the wood. Allow the wood to rest for five minutes before clamping it together.
-
Clamp the Pieces Together. After the glue has dried you can attach the pieces to form a flush joint.
-
Trim Joinery. After the glue dries, trim any excess wood around your joint.
You should leave enough space between the pieces to allow you to turn them inside-out.