A fundamental turning technique involves riding the bevel. This involves several key steps. You hold the shaft of the tool in your hands and move it forward until the cutting edge touches the stock. As the tool advances you gradually raise the handle until its cutting edge touches the stock. The bevel does not cut through the stock. After the cutting edge has engaged the stock, the tool can be retracted. The handle should then be raised again when the cutting edges are engaged.
Wood turning is a specialized branch of woodworking
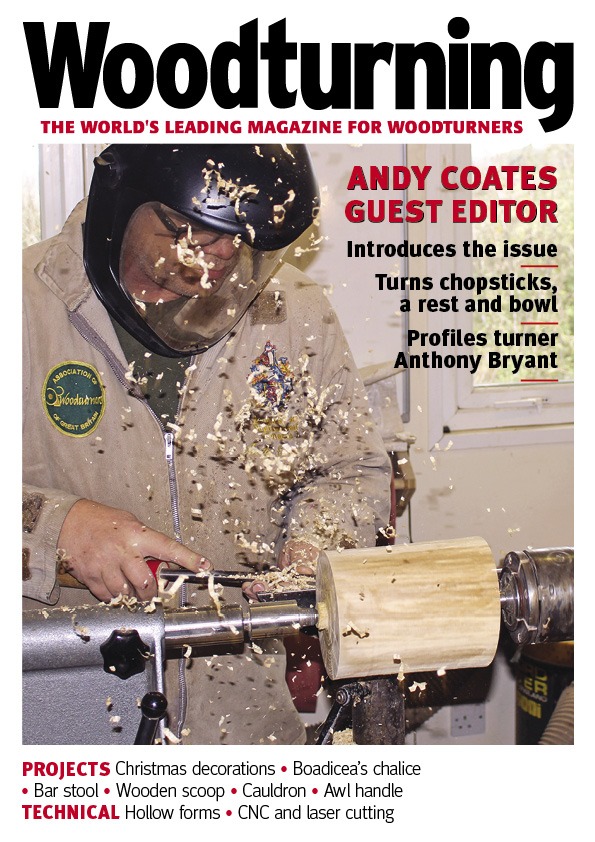
The practice of wood turning is a popular hobby for people who love the tactile nature of wood and working with their hands. Woodturning is a rewarding hobby that can appeal to both beginners and more experienced woodworkers. Demonstrations should be around six to ten minutes long. You should keep most of your stock in place during the demonstration so you can work on your piece.
You should protect your eyes if you are going to woodturn. Woodturning involves using a sharp, metal tool to poke into the wood. Wearing goggles will protect your eyes. A face shield will stop the burl from hitting you nose and causing injuries. Wood dust can also cause skin allergies and respiratory problems. Additionally, skin irritation can be caused by wood shavings made from wood turning.
It uses less wood
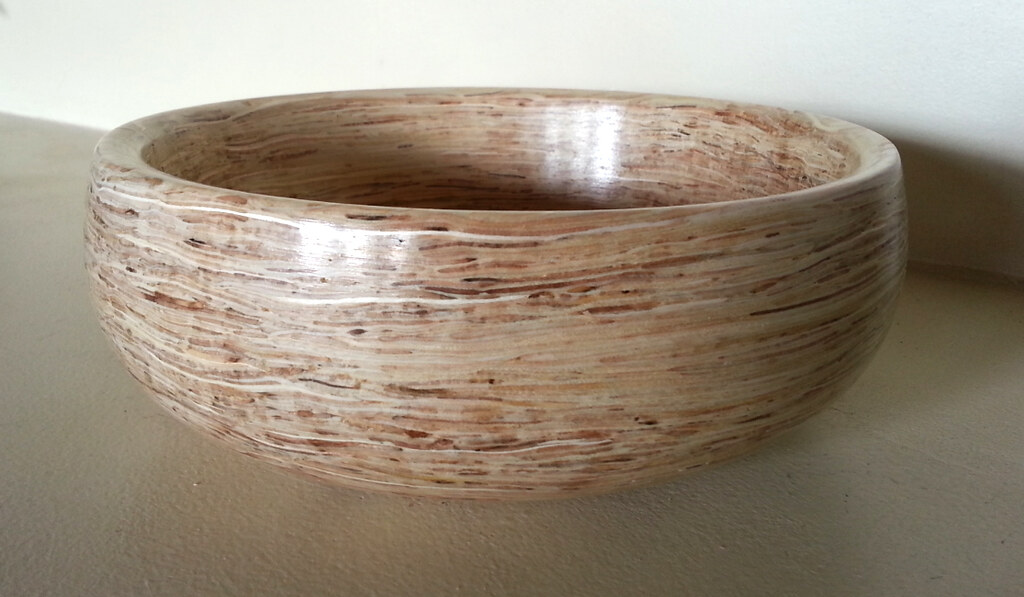
Woodturning with most tree species is possible, however, there are some pieces that are easier to turn. Woodturning stock can be made with any part of a tree. However, certain parts of trees have better grain and figures than others. Here are some tips to make your woodturning project go faster. First, select stable material. You want lumber that won't move, warp, or crack. Make sure you choose a piece that has tight bark. The woodworker can create a natural edge vessel by using tight bark.
A wooden blank can be used as a basic tool for turning. The first step is to find a lumber yard and purchase it. A big sawmill is able to cut large logs in smaller sections. Then, a tablesaw and/or bandsaw will further cut these sections. DIYers can also cut the lumber to make blanks. Sometimes, fleshly cut wood is dried before turning. This prevents cracks which is crucial for high-quality turning projects.
It is more stable
A Swiss-Style Lathe can provide you with a more stable cutting experience. Although bar stock may not be perfectly straight, vibrations can create that can impact precision and tool wear. Swiss-style machines produce less vibration because they don't use belt drives. Likewise, the sliding headstock must move smoothly and with precision to avoid the effects of harmonic vibrations from high-speed rotation. The sliding mechanism is smoothest when preloaded with roller pads. The high speed rotation produces harmonic vibrations. Therefore, the sliding mechanism is able absorb these vibrations.
FAQ
How much should a hobbyist invest to get started?
It is likely that you will need some capital in order to buy the required tools and supplies if your goal is to open your own woodworking business. It's a good idea to buy a small tablesaw, drill press and circular saw. These items won't break the budget and aren't expensive.
How often should I purchase new supplies?
You will likely need to replace some tools over time. You'll need to sharpen your hand tools regularly if you use them. Power tools will require replacement parts every so often. Spread your purchases over several months to avoid purchasing too many items at once.
What is the difference in plywood and particleboard?
Plywood is a combination of layers of wood, which are then pressed together under high pressure. Plywood can be cut to different thicknesses. It's commonly used as flooring and cabinets. Particle board is made up of sawdust mixed in resin, then compressed into large pieces. It's commonly used for home improvement projects. Both boards can be cut easily and are both durable.
Statistics
- Overall employment of woodworkers is projected to grow 8 percent from 2020 to 2030, about as fast as the average for all occupations. (bls.gov)
- If your lumber isn't as dry as you would like when you purchase it (over 22% in Glen Huey's opinion…probably over 10-15% in my opinion), then it's a good idea to let it acclimate to your workshop for a couple of weeks. (woodandshop.com)
- Average lumber prices rose about 600 percent between April 2020 and May 2021. (familyhandyman.com)
- Woodworkers on the lower end of that spectrum, the bottom 10% to be exact, make roughly $24,000 a year, while the top 10% makes $108,000. (zippia.com)
External Links
How To
Tips for driving a nail in wood
The first step in driving a nail into wood is to choose the correct size and type of hammer. The most popular types of hammers include claw hammers as well as mallets and ball peenhammers. Each kind of hammer has its own advantages and disadvantages. A claw hammer is best for hitting nails or hard objects. However, it can be difficult to pinpoint exactly where the blow will land. Although a sledgehammer can be used to hit large areas quickly, it is too heavy to be useful for small tasks.
After selecting the right hammer, you will need to place your hand flat against one side of the head. The handle should rest comfortably in your hands. Grab the handle tightly, but do not squeeze too hard. Your wrist should be relaxed while you hold the hammer straight upwards. You should then swing the hammer straight up, keeping your wrist relaxed. You should feel the impact from the hammer striking a nail. If you're having trouble getting the hang of swinging a hammer, practice with a block of wood until you get the rhythm down.
When you're ready to start driving the nail, hold the hammer in front of you close to your body. Place the nail so that it is perpendicular with the wood's surface. Your eyes should be focused on the nail's tip. Swing the hammer forward, and then move the hammerhead. Keep doing this until you are comfortable with the swing. Once you have mastered this technique, increase the power of your swings. To make it more powerful, hold the hammer up high to your shoulder and then bring it down. You will be able to use more energy and put your best foot forward.
Once you have successfully drilled the first hole in the nail, remove the hammer. To pull out the remaining nails, use a screwdriver or pry bar. Keep the nails heads in line with the surface of the board to prevent splitting the wood.